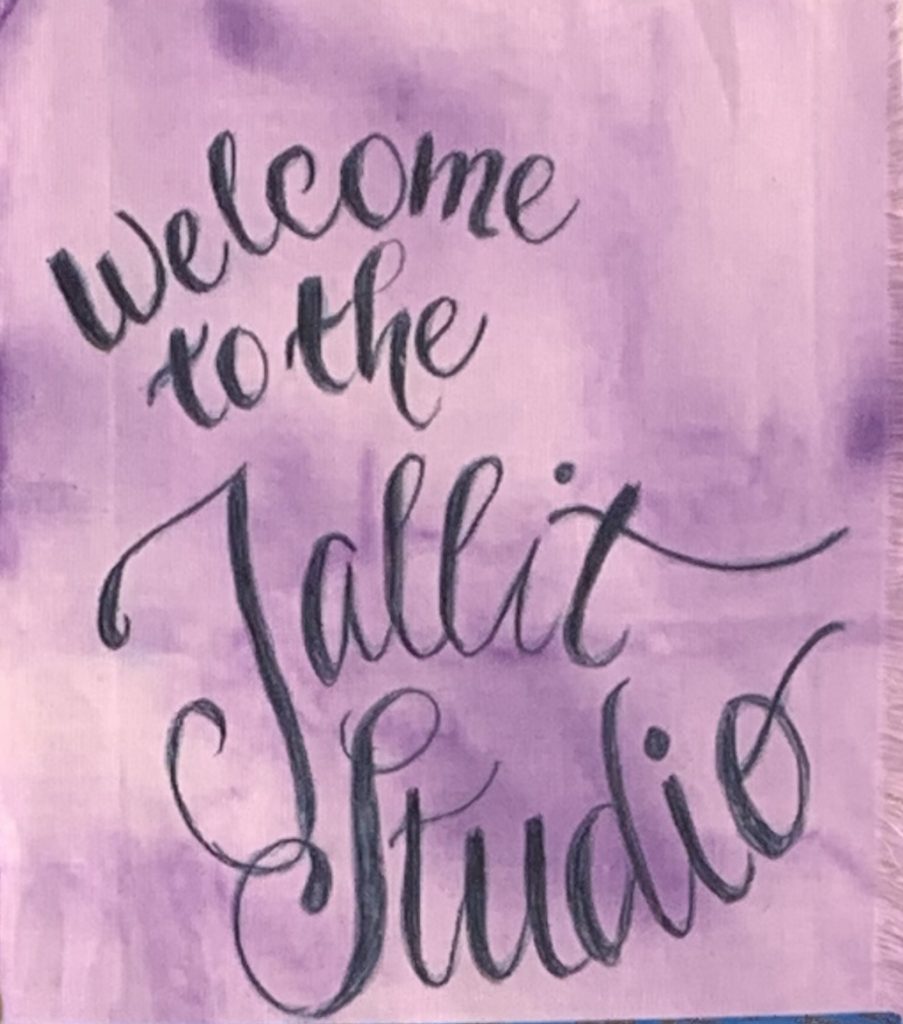
Our Virtual Tallit Studio

We’ll be spending time together over the next few weeks as we learn about the tallit, come up with a design and then make it happen.
This will be my fourth year directing Camp Newman’s tallit studio and it’s been a wild ride that has taken me from Santa Rosa, to Cal Maritime to this year where we’re together through technology.

The goal remains the same, regardless of where we are! Besides sharing what I know (and have learned over the years), we’ll use technology to help you share with one another, too!
Need some inspiration?
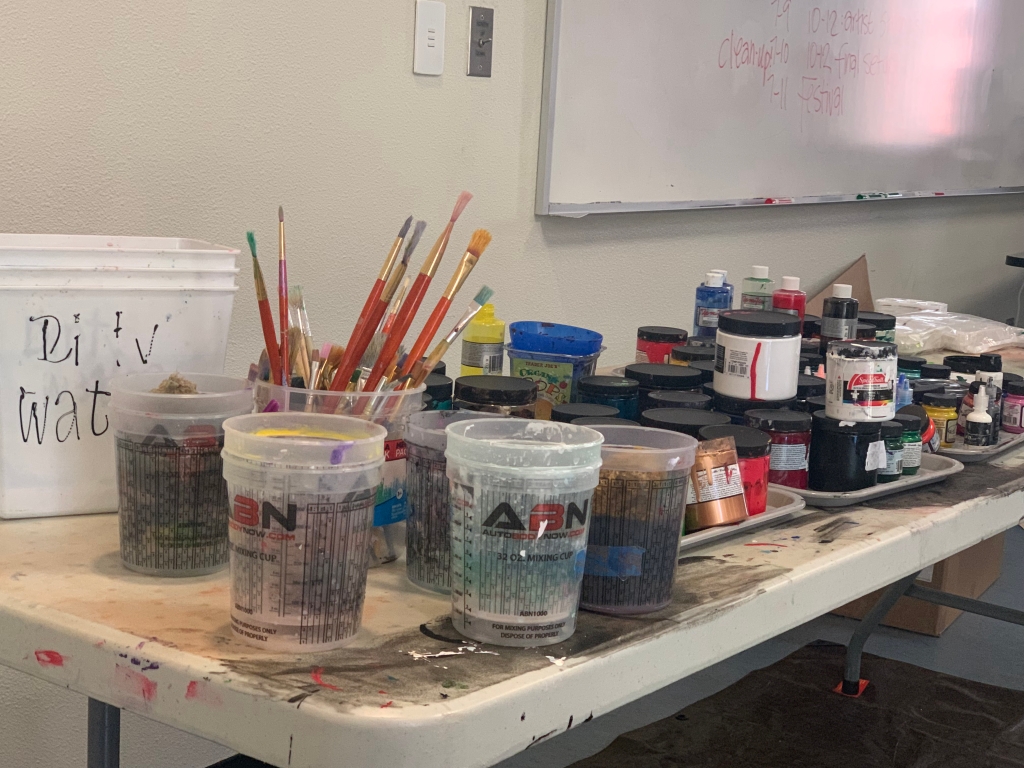
Supplies
The most important thing you need is the tallit kit. Inside of that package you’ll find the tallit, a sample piece of fabric for testing out different techniques, and the tzitzit that you’ll be adding to the corners of the tallit.
You’ll also need the following supplies:
• Paper & pencil for your initial design
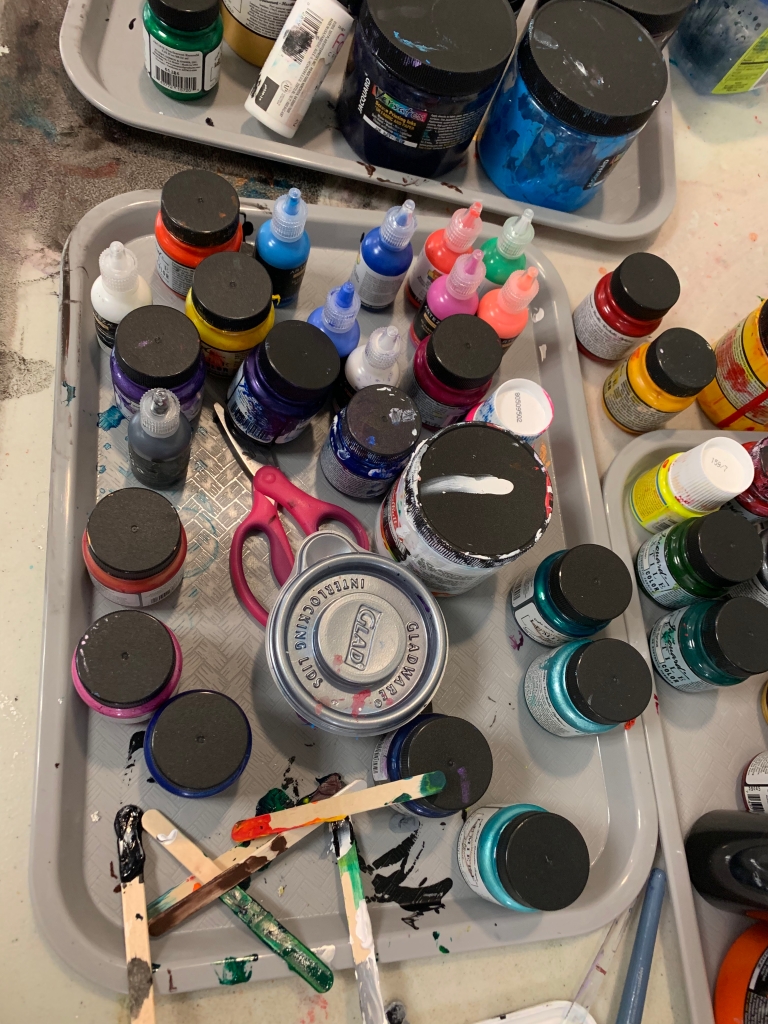
• Fabric paint (more about that below)
• Fabric marking pen
• Brushes and/or sponges
• Water
• Small containers to mix colors or water down paint
• Tape to hold the tallit down to your work surface (painters tape will work)
• Something to protect your painting surface
• Iron
Optional supplies:
• Fabric markers
• Ruler or protractor for design work
• Small spray bottle to keep your fabric damp and to remove water soluble ink
Paint
You’re going to need fabric paint, and there are lots of products out there from which to choose.
What we use at camp:
At camp, we almost exclusively use Pebeo Setacolor and Jacquard products. They’re proven winners for fabric use, and I strongly recommend that you stick with those products if at all possible. Unfortunately, they’re available via online purchase only, which may provide a bit of a challenge this year! For camp, we order paints exclusively from Dharmatrading, a wonderful company right in California, but I’m a little concerned this year about their turnaround time (they’re a small company). Other online options include Amazon, Dick Blick and Staples, and it looks like their turnaround times are pretty good.
Joann Fabrics has relatively good prices on Tulip brand paints, and, depending on your location, you may be able to pick up your purchase using curbside pickup. I have not used Tulip, but the online reviews appear to be fairly good.
The most important quality in a fabric paint, in my opinion, is how soft the garment is after application. The feel of a piece of fabric against your skin is called the “hand” of the fabric. For a tallit, you really do want a soft hand; a garment that is flexible and drapes nicely. You want to use a fabric paint that, once dry, doesn’t alter the drape of the tallit.
What about “dimensional” paint?
When you do an online search for fabric paint, “dimensional” products, including slick, puffy, 3D, glitter or dot paints, often appear. These are not going to work for a large garment like a tallit! They tend to dry very hard, and crack easily – especially when used for a large space. At camp, we occasionally use slick fabric paint to outline lettering for the tallit atarah (the neckband at the top of the garment), but that’s about it.
What about fabric markers?
For the atarah, a fabric marker is very useful. It’s pretty easy to place the lettering you want to use underneath the fabric and trace over it with a marker. We do this a lot at camp. You might also find a fabric marker useful for small elements on the tallit itself. I can’t see using fabric markers for the bulk of the tallit, though – it’s just too large a space!
Other supplies
Brushes
Don’t spend a lot on brushes! If you already have craft or small paint brushes lying around, they will be fine. If you do buy brushes, purchase some in various sizes, but don’t worry about special brushes for watercolor or oil painting. Any old acrylic brush will do.
Sponge brushes that look like gray sponges attached to a sticks are also nice to use, and can be purchased fairly inexpensively online or at your local home improvement or hardware store. They can be great to use to get a large section of fabric covered with paint in a reasonably short period of time.
Sponges
I love to use sponges for fabric painting! You can purchase natural sponges in small packages, which give you terrific options for getting texture into your design. Synthetic sponges can also be used for texture, or can be cut into interesting shapes. Besides the kinds of sponges used for cleaning, you can also use small cosmetic sponges.
Fabric Marking Pen
You will probably want to sketch your design onto your tallit fabric, and the bad news is that it is very difficult (if not impossible) to remove pencil from fabric. The best thing that I’ve found is a fabric marking pen. Fabric marking pens are available with either disappearing ink or water soluble. The disappearing ink really does disappear! In fact, if you use disappearing ink, you may not want to sketch more than you can paint in one sitting, since your sketch won’t be there the next day! If you happen to have watercolor pencils, you could use those to sketch your design too, as long as you have colors that are close to the paint color you want to use, but I don’t think it’s worth buying them just for this purpose. If you don’t want to mark on your fabric, you can always sketch your design on paper and place it under the fabric – it will be visible under the white cotton fabric.
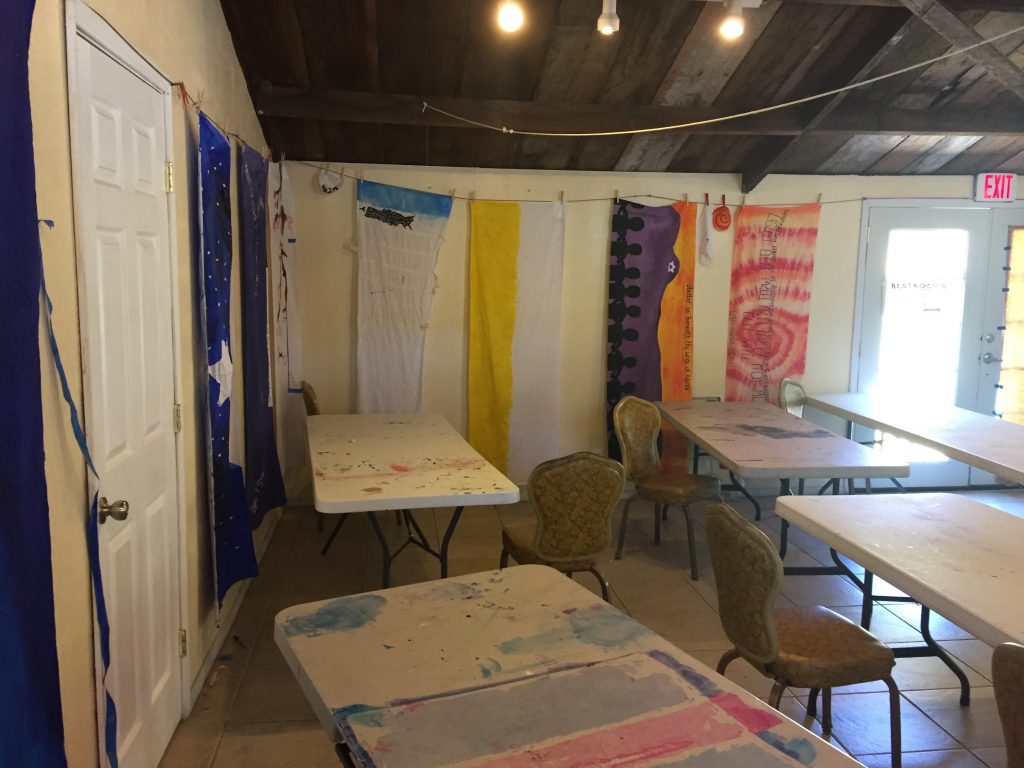
Where to work
(Left: At Porter Creek, we had to hang our tallitot up every day, since we never knew when Avodah would “borrow” our tables for an evening program!)
The ideal location for your tallit painting to take place would offer a space large enough for the tallit to be stretched out and undisturbed the whole time. That’s a big ask! If you can’t just take the dining room table over for two weeks, I would recommend trying to locate a large piece of cardboard to use as a base and make the tallit easy to move. You also need to protect the surface on which you’re working – inexpensive plastic tablecloths work great for this. Paint drips happen! Protect the floor beneath your work as well.
Schedule:
Work days:
June 29: Introduction, designing your tallit
June 30: Sharing your design, paint techniques
July 1: Transferring your design to the fabric
July 2: Painting!
July 3: Painting!
July 6: Painting!
July 7: Painting!
July 8: : Painting! Artist Statements due!
July 9: Final touches, tzitzit tying, photos
July 10: Final touches, tzitzit tying
Festival: July 11